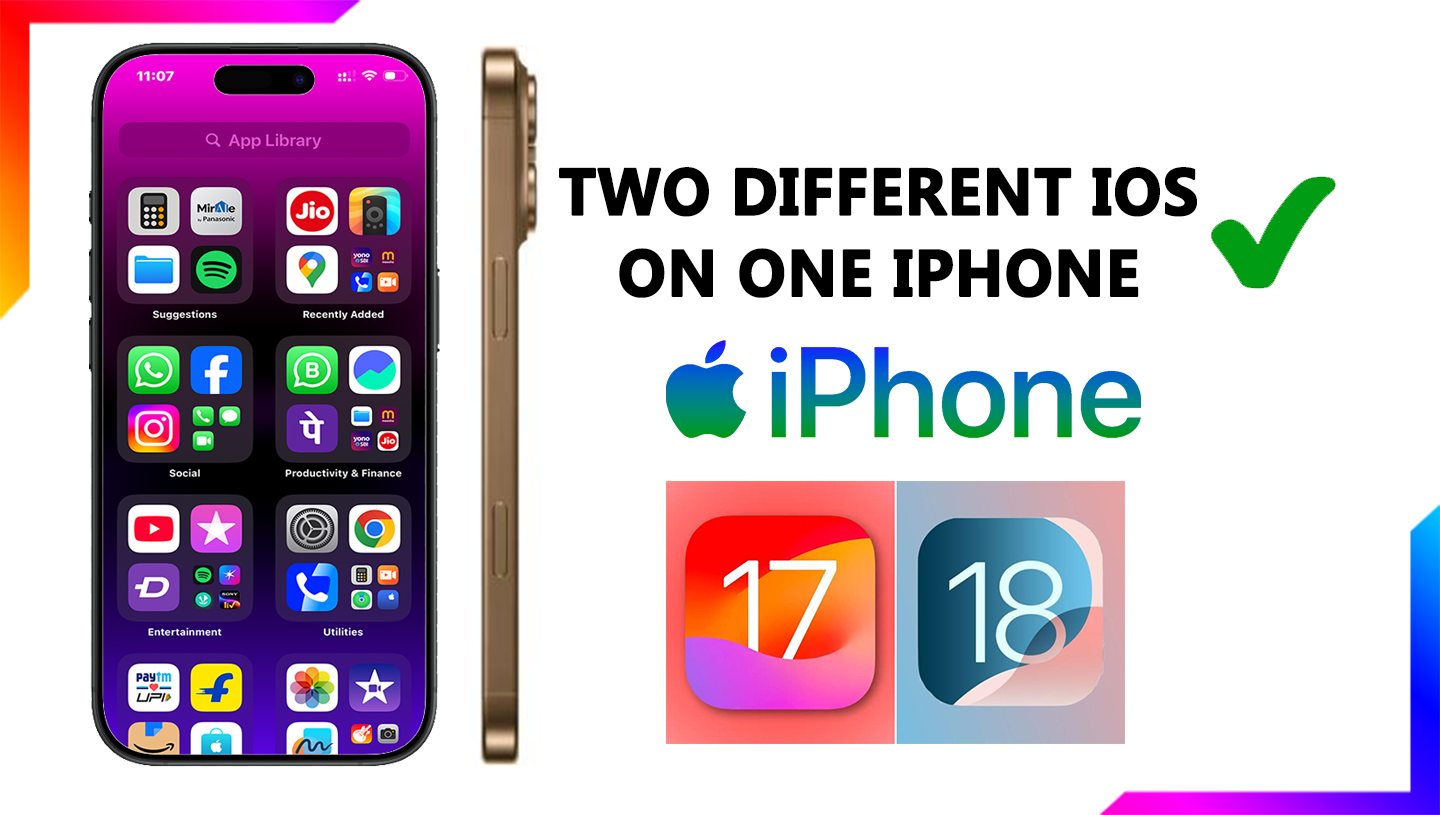
Have you ever wished you could run two different versions of iOS on your iPhone? Maybe you want to try a beta version without losing the stability of your current iOS, or perhaps you need an older iOS version for app compatibility. Whatever the reason, dual-booting iOS is an intriguing idea.
Traditionally, dual-booting iOS required jailbreaking your device, which comes with security risks and can void your warranty. But is there a way to do it without jailbreaking? The short answer: It’s tricky, but possible in some cases. Let’s explore how you can (and whether you should) attempt this process.
Can You Really Dual Boot iOS Without Jailbreak?
Apple does not officially support dual-booting on iPhones. Unlike macOS, where you can install multiple operating systems using Boot Camp or external drives, iOS is locked down to prevent such modifications. However, developers and researchers have found ways to accomplish dual-booting by using advanced tools—some of which do not require a traditional jailbreak.
Methods to Dual Boot iOS Without Jailbreak
1. Using Apple’s TestFlight & Developer Tools (Limited Support)
If your goal is to test a beta iOS version while keeping your stable iOS, Apple provides a safe way to do so:
- TestFlight: Developers can use TestFlight to test apps on different iOS versions without overwriting their main iOS installation. While this doesn’t provide full dual booting, it can help you run apps in different environments.
- Xcode & Developer Beta Profiles: Apple’s official tools let you install beta versions without permanently upgrading. This is ideal for testing but does not allow you to keep two iOS versions running side by side.
2. iOS Downgrading & Virtualization (Advanced Users)
While Apple prevents users from easily downgrading iOS, certain third-party tools allow you to restore older firmware if Apple is still signing it. Some experimental techniques include:
- Using SHSH Blobs: If you saved SHSH blobs from a previous iOS version, tools like FutureRestore can help you downgrade and switch between versions. However, this is complex and not a true dual-boot solution.
- iOS Emulation & Virtualization: Some developers experiment with running older iOS versions in a virtualized environment, but performance is often limited, and official support is nonexistent.
3. Side-Loading a Second iOS Build (For Developers)
Apple’s internal tools allow running multiple iOS builds on test devices, but these are not available to the public. Some researchers have attempted sideloading methods using Apple Configurator, but success is rare and varies by device.
Challenges and Risks
Even if you manage to get two iOS versions running on an iPhone, there are major limitations:
- No Official Apple Support: Apple does not endorse dual-booting, so updates can break your setup.
- Data Loss Risks: Switching between versions can erase data if not done carefully.
- Hardware Limitations: Newer iPhones have security chips that make it nearly impossible to boot unsigned iOS versions.
For the average iPhone user, dual-booting iOS without a jailbreak is not practical. Apple’s restrictions make it extremely difficult to run two versions side by side. However, developers and researchers continue to explore workarounds, so there’s always a chance for new methods in the future.
If you need an older iOS version, your best bet is to check if Apple still signs it and use official downgrade methods. For beta testing, Apple’s developer tools are the safest option. Until Apple introduces an official way to dual-boot, this remains a challenging experiment rather than a mainstream feature.
Would you try dual-booting iOS on your iPhone? Let us know in the comments!