Let’s talk about those digital SIM cards that live inside your iPhone – the eSIMs. Maybe you’re switching carriers, got a new phone, or just want to clean up old plans you’re not using anymore. Whatever the reason, pulling the plug on an eSIM is actually pretty simple once you know where to look.
I’ve helped dozens of friends through this process, and I’ll walk you through it the same way I do with them – no tech jargon, just clear steps. We’ll cover:
- The right way to delete an eSIM (and when you shouldn’t)
- What actually happens when you remove it
- How to deal with stubborn eSIMs that won’t go away
- Some smart tips I’ve picked up along the way
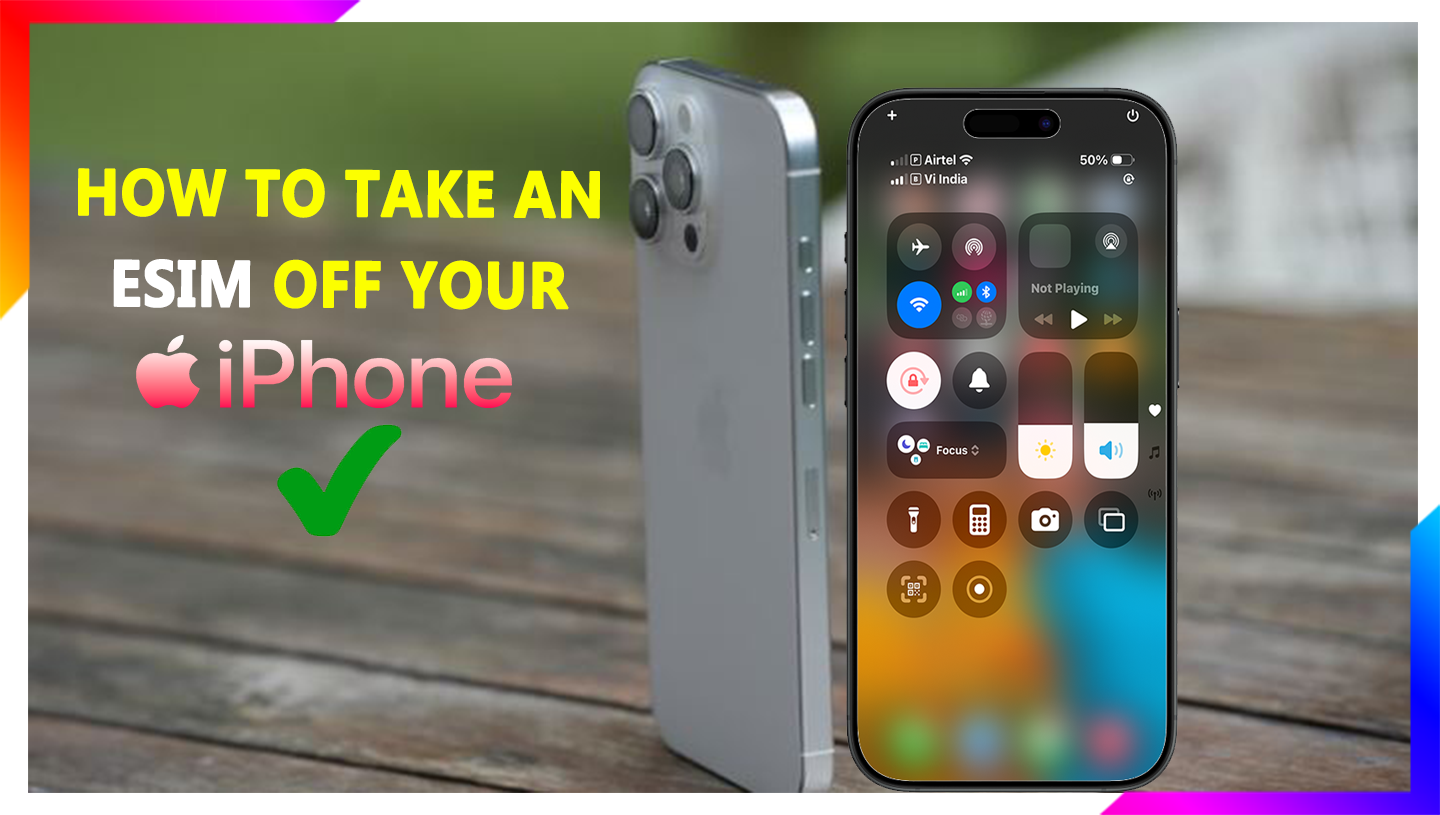
First Things First: What’s an eSIM Anyway?
Think of an eSIM like a virtual SIM card. Instead of that little plastic chip you pop into your phone, it’s all digital. You might want to remove one when:
- You’re passing your iPhone down to someone else
- That travel data plan from your last vacation is still hanging around
- You’re switching to a new carrier
- Your phone’s acting up and you need a fresh start
Hold up though! If this is your only cellular plan and you still need service, don’t remove it yet – you’ll lose your connection immediately.
The Simple Way to Remove an eSIM
Step 1: Open Your Settings
Swipe up from the bottom (or down from the top right if you’ve got a newer iPhone) and tap that gear icon.
Step 2: Find the Cellular Menu
Scroll down until you see “Cellular” or “Mobile Data” – tap that.
Step 3: Pick Your Plan
You’ll see all your active plans here. Find the one you want to ditch – maybe it’s labeled with your carrier’s name or something like “Secondary Plan.”
Step 4: Say Goodbye
Tap “Remove Cellular Plan” and then confirm by hitting “Remove Plan” again when it asks.
When the Easy Way Doesn’t Work
Sometimes that eSIM just won’t take the hint. Here’s what to try:
- Give your iPhone a restart – The old “turn it off and on again” works more often than you’d think.
- Check for updates – Head to Settings > General > Software Update to make sure you’re running the latest iOS.
- The nuclear option – If all else fails, go to Settings > General > Reset > Reset Network Settings. Just know this will also wipe your WiFi passwords.
What Nobody Tells You About Removing eSIMs
Here’s the thing – when you delete an eSIM from your phone, you’re not actually canceling your service with the carrier. It’s like taking the SIM card out of an old phone – the account is still active, you’re just not using it.
To actually cancel (and stop getting billed):
- Call your carrier’s customer service
- Visit a store location
- Use your carrier’s app if they have that option
Smart Moves Before You Delete
Take it from someone who’s learned the hard way:
- Snap a screenshot of your plan details first (find them in Settings > Cellular > [Your Plan])
- Label your plans clearly – “Work Phone” or “Spain Trip Data” makes life easier later
- Double check you’re not removing your only active plan
Wrapping Up
Removing an eSIM is one of those things that seems complicated until you’ve done it once. Now that you know where to look and what to watch out for, you can clean up those old plans in about 30 seconds flat.
Still feeling unsure? Drop a question below and I’ll help you out. And if you found this helpful, why not share it with that friend who’s always asking you for tech help?